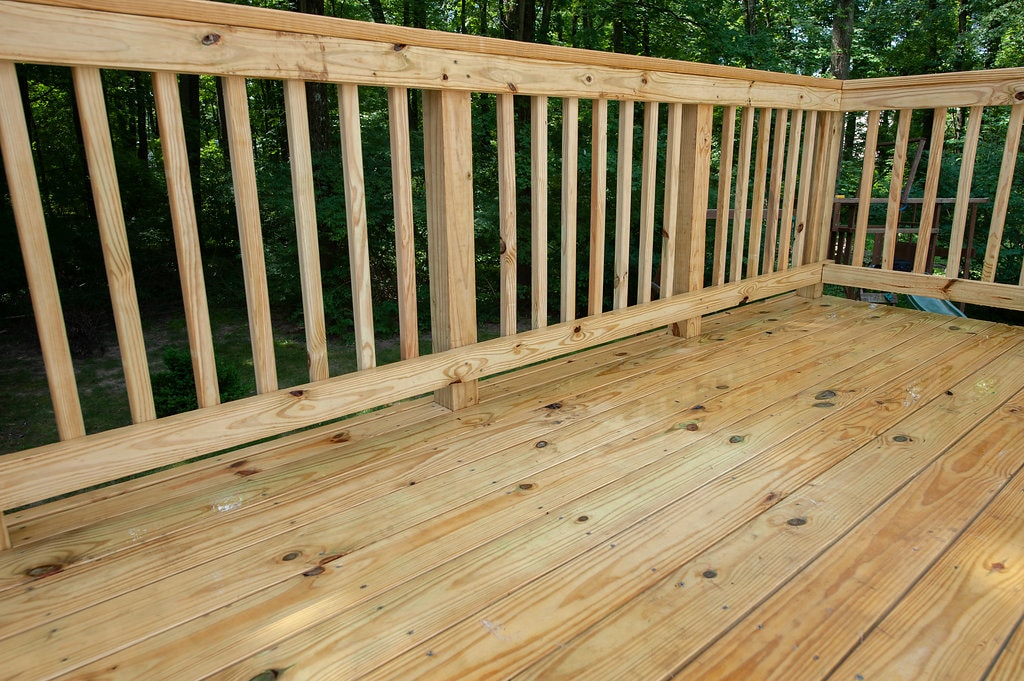
It’s time to lay down some SYP deck boards.
by Robert Wyatt, WIR Contributor
Compared to building the foundation, installing decking boards is much more fun since this is what your friends and family will actually “see.” With a little planning and care you can avoid some rookie mistakes such as uneven gaps, raised or missing screw heads, and cracked or split deck boards.
Here are some tips to help make sure your deck is awesome.
Give Some Space
Appropriate spacing between the decking boards is essential not only for drainage but also to prevent warping. If your decking boards are wet/green (not dried out or seasoned), I’d skip the spacing process altogether because as the boards dry they’ll create their own space.
Most builders drop a “sixteen penny” nail (16d)** between pairs of boards before attaching them. You also can use a strip of 1/4-inch plywood instead of nails. Using a strip of plywood can actually be a little better on longer boards because it allows you to increase the gap; and it stays in place better if you need to pry a warped board into alignment with another board.
Green vs. KDAT
Green/wet pressure treated lumber actually feels a little moist to the touch. It will dry with time after installation. If you’d prefer to have your boards already dry, look for these letters: KDAT. This means the boards were kiln dried after treatment. While it offers no guarantees, KDAT lumber will improve the likelihood of the boards staying stable after installation. Keep in mind that KDAT wood typically cost a good bit more than ‘green’ pressure treated lumber – still cheaper than composite decking. It’s also usually only available at contractor / lumberyard dealers. It’s important to stain, paint, or seal KDAT lumber ASAP after installation.
Trivia Time
Earlier, I talked about using a “sixteen penny” aka 16d nail for board spacing. Where does the sizing system come from and why does “d” stand for penny? The “d” goes way back to the Roman occupation of England. The “d” is associated with a Roman coin called the denarius, which was also the name for an English penny. Aren’t you glad you know that?
Give It a Dry Run and Stagger the Boards
Do a dry run of your boards by laying them out before attaching to the frame. If your deck dimensions are longer than your decking boards, staggering the joints is important when laying decking boards. The staggered boards improve stability and the appearance of the deck.
Double Joists Are Important
Deck boards – no matter the thickness (5/4″ or 2″) should always be fastened on top of a DOUBLE joist so there is enough nailing edge on each decking board where they are butted.
Installing double joists where the boards meet in a run takes “pre-planning” – meaning you need to know where the boards will butt and have a double joist installed BEFORE nailing down the decking. Have patience, my friends.
We know it feels good to get to the fun part quickly, but do a dry run and place your boards. See where they will meet and install a double joist there. You can get special brackets for the double joist to keep the boards together. You can even bolt them together to prevent them from growing apart.
Don’t Nail Your Deck Boards
I’ve found that it’s not a good idea to nail your deck boards. However, other folks swear by the nail.
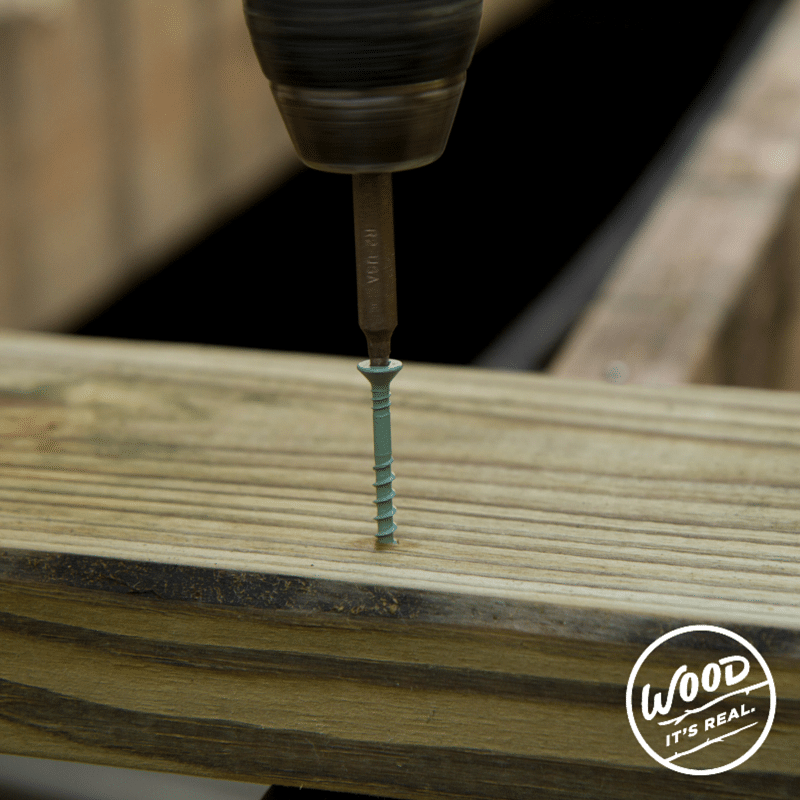
Screws tend to be more secure than nails because they stay attached as the boards expand and contract with the seasons. It is super important that you purchase actual deck screws – not only is it necessary for safety, but it will keep your deck in better shape for a longer time. My personal preference for decking screws is something like PowerPro with a star head. It’s less likely to strip and I haven’t had any ‘head popping’ problems.
Bark Side Up
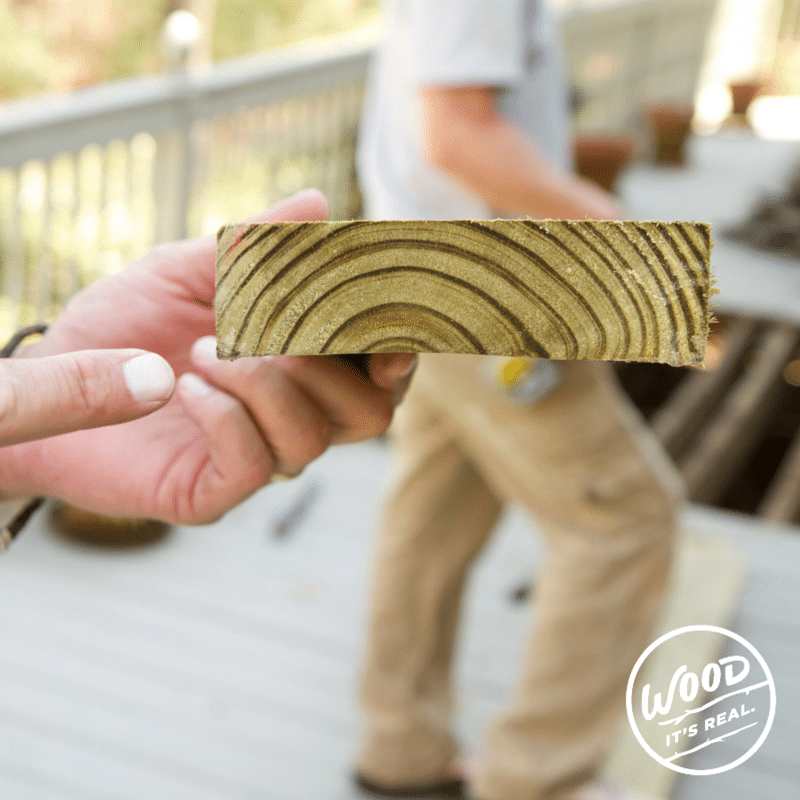
No matter what kind of screws you use, always remember to place your boards with the bark side up. Boards can cup away from the bark side which will enable the water to run off the boards.
Predrill the Ends of the Boards
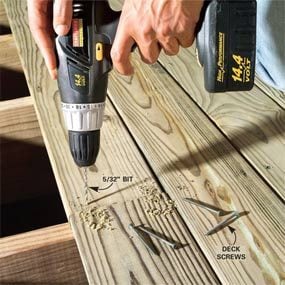
Image via Family Handyman
Pre-drill the ends of the boards to avoid splitting using two screws where each decking board and joist intersect.
Your First Board
Choose your straightest board to be your first piece of decking as it will go right up against the house. Cut it to length and slide it up against the house about 1/8” away from the siding (to allow for drainage). Proceed with your next board and so on and so on.
Prepare for the Last Board
When you are about 6-10 feet from the end of the deck, check the remaining distances from the edge. Divide this distance by the width of the decking boards plus 1/8″. You should try to end the decking with a full width board if possible. You can slightly spread or shrink the gaps for a perfect fit.
Cut a Clean Edge
Once you have all your deck boards in place, if you haven’t already pre-measured them, cut off the ends that extend over the edge of the deck by snapping a chalk line and using a circular saw to cut all the boards in one step. You may have to use a hand saw in some corners and other areas.
Next up: Handrails and Steps, stay tuned!