By Mark Clement

When I get called to inspect a deck for safety, maintenance, reconstruction or resurface, each one is a little different. However, I’m mainly focused on several key factors.
Also, in my experience, the deck’s structure is usually in sound shape – the lumber being the strongest link in the chain.
Let’s take a look at the check list for a deck inspection.
Ground Up
While I’m typically called in to look at a deck because the existing decking has reached the end of its service life, the guard posts might be shaky, or a coat of paint has failed abominably, the first thing I do after meeting the client and getting a sense of what they want to do is inspect the structure.
Posts First
No matter what the condition of the decking, the deck needs to be structurally sound and that starts with the posts.
Most decks I encounter in this phase of their lives have the posts in the ground. Unless using the mighty PostProtector sleeve, this is not generally acceptable anymore. Since I can’t go back in time or suddenly have X-ray vision, I can’t see the posts below grade.
What I do is examine what I can see. I scrape a few inches of dirt away, then I take my scratch awl and poke it into the wood. If there is punky (aka rotten) lumber, the post is a problem. This has yet to be something I’ve actually encountered. I also make it very clear to the customer that I can only inspect what I can see.
Next, I check that there are enough posts and that they’re big enough. Post should usually be 6x6s at 6-feet on center and support a double 2×8 or 2×10 beam or band joist. I then inspect the fasteners, which should be ½-inch bolts.
Joists
Next, I take a look at the joists and their connections. I also check spacing which should be—and pretty much always is—16-inches on center.
At the ledger board (explained in greater detail below), I check the joist hanger hardware. In addition to it existing—which it sometimes does not—it should be reasonably rust-free. The likelihood the correct fasteners were used in the angled holes is near zero. They should be 2 ½-inch nails or structural screws.
Ledger
This is the big one.
Unless it’s a free-standing deck, there is a ledger board. This is the board that is fastened to the house. It is an absolutely crucial connection.
Back in the day we just used lag screws to affix the ledger to the house. For the most part, this worked. However sometimes water gets behind the siding and house wrap and, over time, rots the untreated lumber the house is built with, which is not a good thing.
Still, I can’t go back in time and re-build the deck, so check my recs below to see how we can handle this.
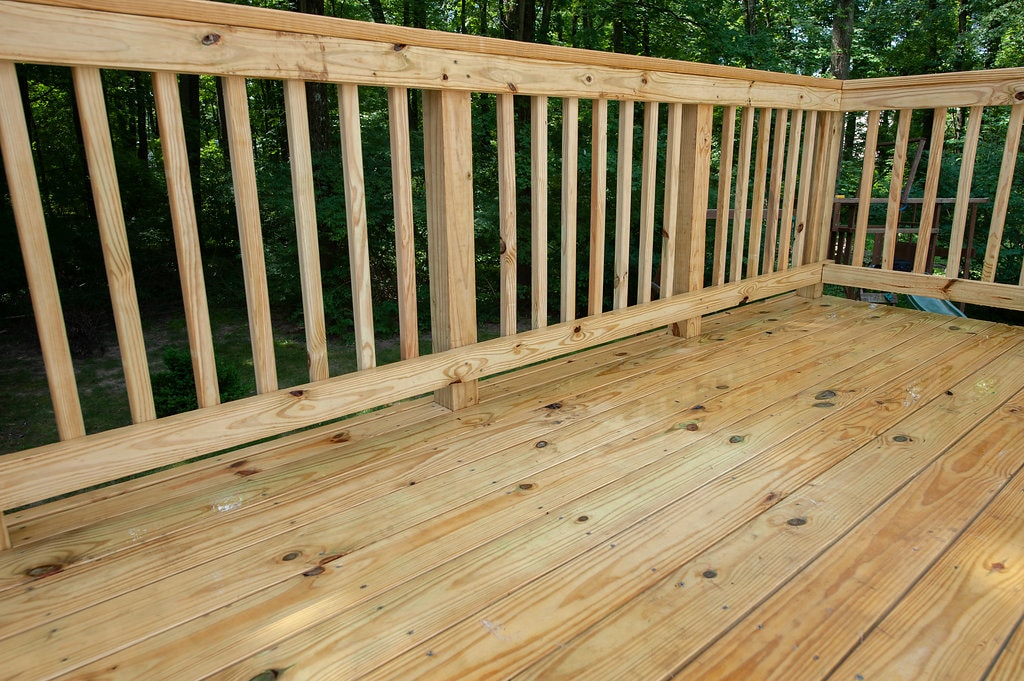
Rails and Stairs
I check that posts haven’t been notched. It used to be a thing, but that thing isn’t allowed any more. Notching a post to fit over the rim joist turns a 4×4 into a 2×4. Add 20-years outside and that’s asking a lot of a 2×4.
I check that stairs’ rise and run is legit and that they’re level, plumb and safely connected.
What I Recommend
Here are some of the more common issues I’ve seen that are pretty good indicators that the deck needs some upgrades.
- Posts – If hardware is undersized—it often is—I usually recommend adding hardware to support the wood fiber that’s already there. Here I’ll use at least two 5/16 x 5-inch Spax washer head Power Lags.
- Guard Rail – If the posts aren’t notched, I’ll usually recommend tightening the existing hardware and adding two ¼ x 4-inch Power Lags from the inside of the deck’s rim joist into the post. If they are notched, I recommend a new system be installed.
- Ledger – Here, I recommend two things. First, support the existing hardware with two 5/16-inch x 4-inch PowerLags, two per joist bay staggered up and down, 2-inches in from the edge of the board. Second, I suggest a blocking assembly to trap the ledger should the unthinkable happen. I can usually make it out of 2×6 and 2×4 blocks. I fasten a 2×6 vertically to the house’s foundation with two ½-inch lags and shields. Then I fasten a 2×4 to that block. That 2×4 extends up to the bottom of the decking. The 2×4 block is fastened with ¼ x 3-inch PowerLags. I install these every 6-feet or so.
- New decking – Sunlight and un-even wet-dry cycles are tough on deck boards and, after a number of years in the elements, a new deck surface is usually an affordable and sensible idea. While many can be cleaned, others can’t. It’s a case by case call. If new decking is in the cards, I recommend sealing the ledger and joists with flashing tape before the new installation. I go into that in more detail in this article.
- Any other repairs or replacements are taken on a case by case basis.
Do you have questions about your specific deck? Let us know how we can help.