A Southern Yellow Pine DIY deck project
by Robert Wyatt, WIR Contributor
Summer is starting and I’m two-thirds of the way through my fourth lifetime “DIY deck project.” Each time I tackle this undertaking I see things I’ve learned (from my mistakes) and things I certainly could do better. Above all I think I’ve learned 10 things that are on my list of things to do when building a wood deck. Maybe by sharing these I can save you some time, money, and hopefully a little misery.
-
Don’t Forget Your Permit
True it’s not the Taj Mahal (though a handsome deck is certainly to be admired); but even this kind of a structure requires some documentation. I live in a fairly rural area and yet there are still proper permits that need to be “pulled” before you dig the first hole. Check with your local “powers that be” for their required permits. There may be a fee, but it will be worth the initial expense in the problems it saves you later. Remember, the reason for the permits is the safety and long life of the project.
-
Clearance and access
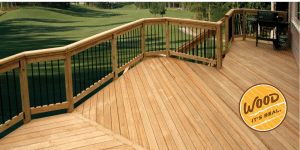
Check for outdoor faucets, AC units, exterior lighting, dryer vents, drainpipes, and electrical outlets. Service panels for electrical, phone or cable must remain accessible. Overhead wiring must be at least 10 feet above or 3 feet away from a deck. If you should choose to build over basement egress windows, be sure to allow a minimum 36” escape path under the deck. Safety, safety, safety.
-
Select the best materials
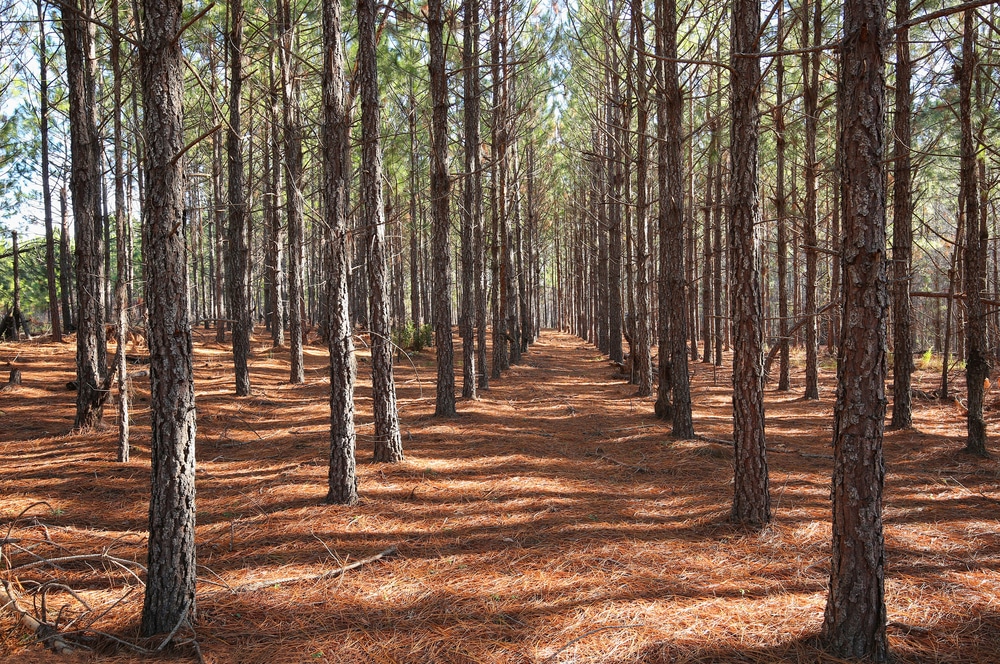
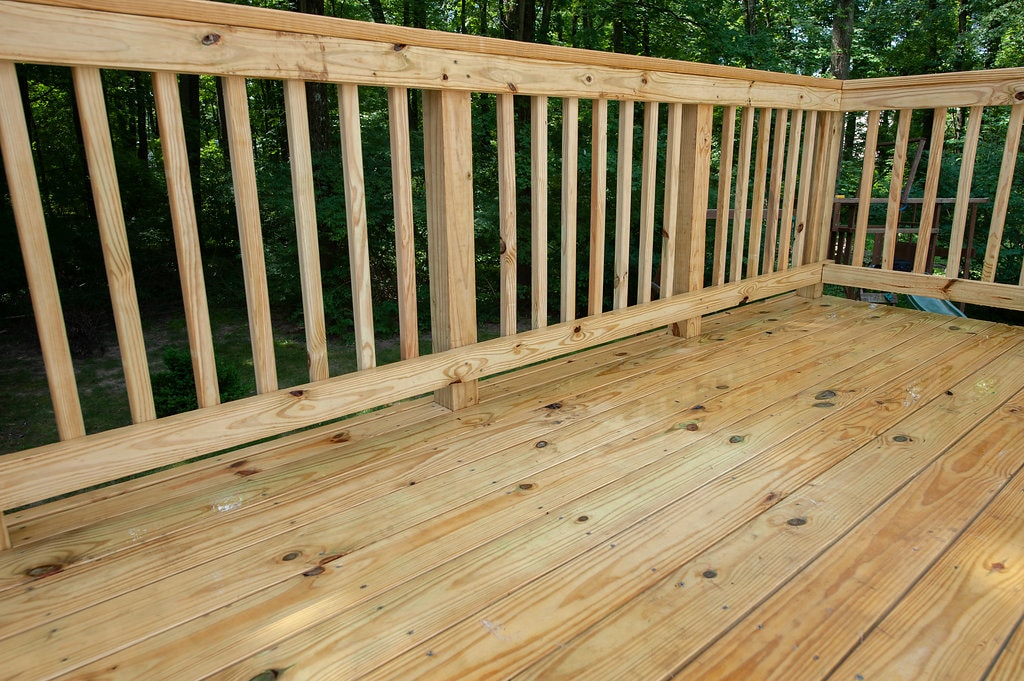
Yes, yes, there are now decking materials now made of vinyl and composite but as for me and my decks; we’ll stick to wood, especially Southern Yellow Pine (SYP). After all, I am from North Carolina and I know the feel of the texture of the wood on my bare feet, coffee in hand to start the day. I also know that this pine brings lots and lots of jobs to the North Carolina economy. Most of all I know that I’m using the same sustainable SYP that my father and his father used in building their decks and porches, and theirs turned out just fine. So I’ll stick with Southern Yellow Pine and maybe a 21st century upgrade in the form of a handsome stain.
-
Start with the cake
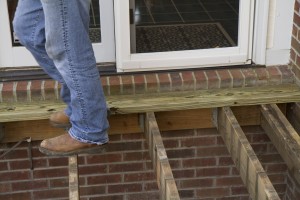
In the 1991 remake of Father of the Bride, I remember the wedding coordinator, Franck, saying something like, “It is important that we select a keck furst.” (Subtitle: important that we select the cake first…lol). The point is, every project has an important first step and just like the “cake” was the basis for the entire wedding; the “footing” will be the foundation for your entire deck. Skimp or cut corners on the footing and not only will you have a deck that will shift or move with time but eventually become unstable and dangerous.
-
A “ledger” is more than a list of credits and debits
– In the deck-building world a ledger is that oh-so-important horizontal board used for vertical support. Though most people bolt the ledger directly to stucco, brick or siding; this is almost always in violation of building codes. If at all possible, the ledger should be directly connected to existing floor joists using deck fasteners.
-
This kind of “flashing” is a good thing –
To protect the home, you will need to install flashing (metal material that will help to protect the home from drafts or water damage in the area where the deck is being constructed). To properly install flashing, bend 2 inches of the thin metal to form a 90 degree angle away from the home and create a cut out for doors or windows.
-
Beams – bolted and spliced
Without sounding like a segment of “This Old House” (a show I really love but one that is way beyond my skill set); bolting and splicing beams, like setting your footings, can either make or break your deck. Avoid bolting beams directly to the sides of any support posts especially if you have a smaller or mid-size deck with not many upright posts. The fewer the number of posts, the greater the load will be on the beam connections. This increased load will distort the wood around the bolt and weaken the connection. It’s always better to connect beams directly over posts using deck fasteners. Beam splices should also be positioned directly over a deck post. If this is not possible it may be necessary to add additional posts.
-
Watch “Overspanning”
If you should decide to get creative and install deck boards diagonally, you will probably need additional joists (beams to support your deck boards) and deck fasteners. Typically, decking floor joists are installed at 16” on center. Check out this Decking Span Chart Table for specifics.
-
Stairs
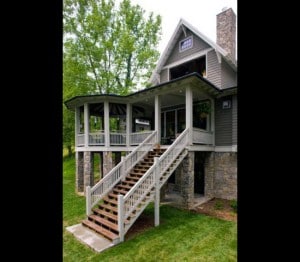
If you are adding stairs to your deck, again remember – safety, safety, safety. Their location should not only provide easy access, but easy escape if necessary. Stairs should never be too steep or too narrow. Make each step as close to the same height as possible; most building codes specify a maximum variation of only 3⁄8 inch between steps. Finally, never apply a finish or paint that may become slick or slippery when wet.
-
Handrails and guardrails
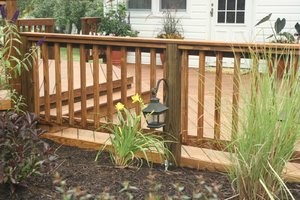
Improperly attached handrails and guardrails can be very dangerous. Never use wood screws alone. Always use a deck fastener. Most building codes require a guardrail be able to resist a focused load of at least 200 pounds from any direction. Doesn’t sound like a lot but in the heat of summer fun with kids and grandkids running and playing, you’d be surprised. A post connected only by screws to the top deck boards is not sufficient to handle this type of load. Handrails are required on all stairs with four or more steps.
Next time, we can talk more in depth about what you should do to make your next deck not only something that is rich, warm, and natural in beauty but something that will be strong and durable for years to come.
(Images via Wood. It’s Real.)

