Big dreams, small yard? No problem. A raised garden bed makes it easy to create a productive and beautiful garden space just about anywhere. If you are held back by poor soil quality or a space that is too small to plant a large garden, here are instructions for you to build your own elevated garden bed and some ideas of how to plant.
How to Build a Raised Garden Frame
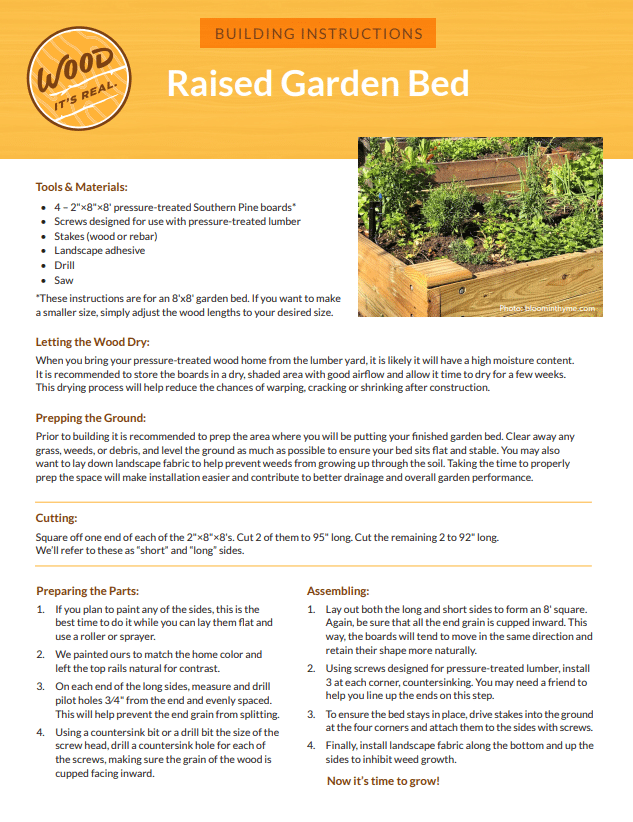
You’ll find everything you need in the instructions here. From tools and materials to cutting, prepping, and assembling your raised garden bed, this project is straightforward and will have you gardening in no time. The following instructions are for an 8’ x 8’ garden bed. If your space is smaller, the instructions can easily be adjusted to different lengths of wood, scaling it to the size that fits your yard.
Here are five tips for raised garden success:
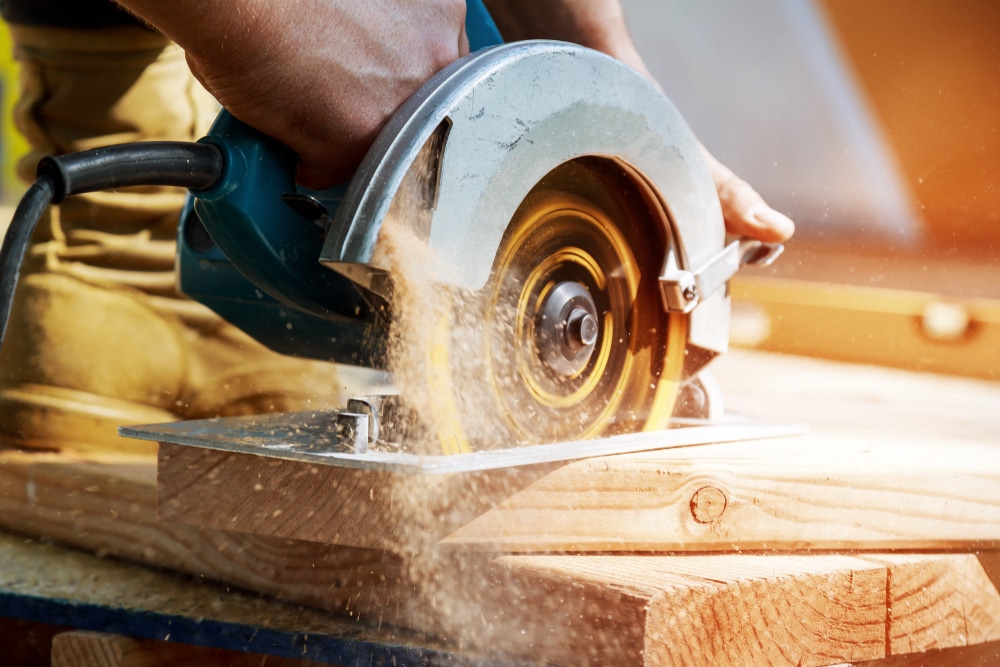
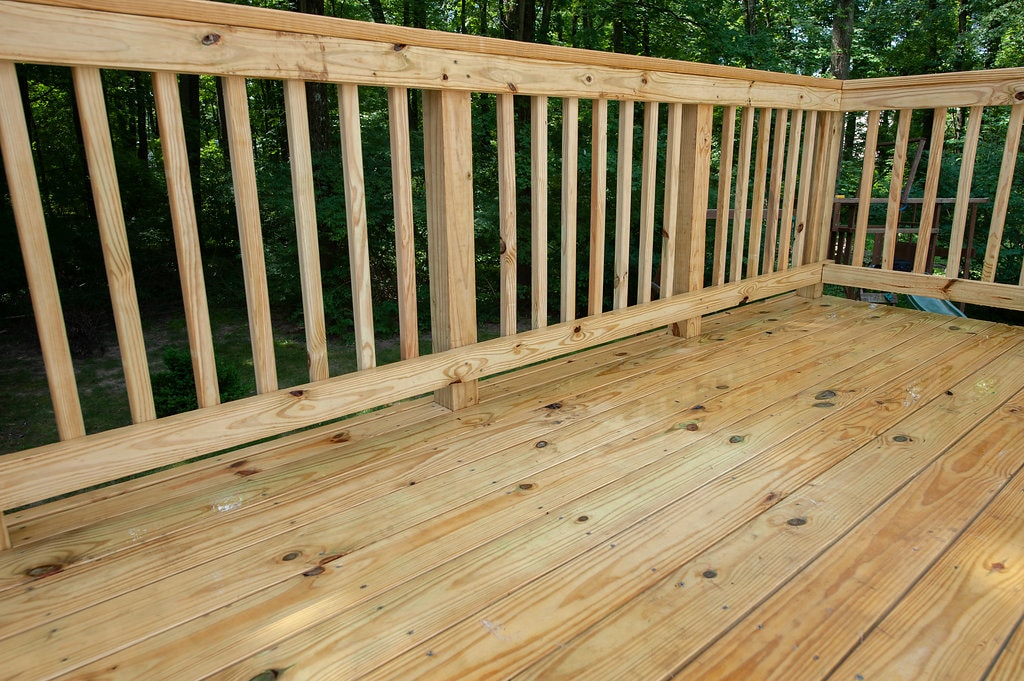
Tip #1: Use the right wood. You’ll notice that the plans call for Ground Contact pressure-treated Southern Yellow Pine. There’s a good reason for that. Your frame will be coming in contact with soil and moisture, and those are things that pressure-treated lumber is designed to resist.
Tip #2: Use the right fasteners. Make sure that your screws are designed for use with pressure-treated lumber. Use the proper drill bit for creating the countersink holes that allow screw heads to tighten flush with the wood surface. If you’re not sure which bit to use, experiment on a piece of scrap lumber.
Tip #3: Let your wood dry and acclimate before painting. Wood purchased from a lumber yard will likely have a high moisture content and need time to dry naturally, which can take several weeks. Be sure to plan your timing accordingly so you don’t miss the prime planting season. Once the wood is dry it is recommended to paint or stain prior to assembling your garden bed.
Tip #4: Anchor that garden bed. You’ve put a lot of work into building it. Make sure it stays put by staking it at each corner.
Tip #5: Landscaping cloth is your friend. Keep weeds out by lining the bottom and sides of the bed before adding soil.
One of the most important things to do when planting a garden is to plan. Here are a few gardening options you can consider, and some top tips to give your garden the best chance to thrive.
Square Foot Gardening
Since raised bed space is limited, plant as much as you can without overcrowding the garden using the square foot gardening method.
Think of your garden as a big box with squares inside. For example, if you have an 8 x 8-foot box, you’re working with 64 square feet. After you’ve filled your box with potting soil, use a stick to scratch out a grid or you can define your squares with string or pieces of wood.
Here are three planting ideas:
- Tomatoes and green peppers: plant one per square.
- Salad greens: grow up to four lettuce plants in a one-foot square.
- Carrots and radishes: plant up to 16 per one-foot square.
If you’re thinking that those 64 squares will get used up in a hurry, you’re right! You’ll also be amazed at how much you can grow in a small space.
Chaos Gardening
Another approach is the free-spirited practice of chaos gardening, where nature takes the lead. This type of organic, low-maintenance garden environment, mimics wild ecosystems that encourage visits from bees and butterflies, while the pressure-treated pine garden bed pushes away unwanted insects. Here are a few chaos gardening tips:
- Mix vegetable, flower, and herb seeds together. The aim is diversity!
- In contrast to square gardening, the goal is to scatter seeds outside the lines. Combine the seeds with compost or potting soil and scatter across your raised garden bed.
- Choose seeds that match your climate. Sunlight, rainfall, wind, and temperature can affect the chance your plants have of growing well.
This gardening philosophy turns gardening into a creative experiment, where beauty comes from unexpected combinations and the joy of watching nature take the lead.
Seed Generously, Thin Mercilessly
Gardening experts recommend that you put several seeds in each hole, to ensure that some of your flowers, herbs or vegetables will sprout.
Then comes a bumper crop of sprouts. They look so wonderful!
If you let all of them grow, they’ll be stunted and not very productive. So, it’s time to thin those sprouts. Toss the excess in your compost bin, or use them as garden mulch.
Whatever gardening style you choose, the key is starting with a good base. Choosing pressure-treated pine to frame your garden is key. A wood that resists rot, decay and insects gives your garden the best chance of success. We look forward to seeing your garden grow!